


A newer version of
Freeform
is available.
Try Freeform 5 now →
User Guides
TinyMCE Rich Text Editor on Textarea field
A rich text editor such as TinyMCE can easily be added to your form. You simply target a specific Textarea field and the editor's JS will take over that field and handle the rest.
Instructions
Here's a list of the steps needed to do this:
- Create or log into an account on the TinyMCE website.
- Add any domains (including test ones) you plan on using to the Approved Domains area.
- Download a copy of the TinyMCE SDK.
- Click on the Download TinyMCE SDK Now button specifically.
- Unzip the package and upload the contents to a publicly accessible folder on your site, e.g.
/assets/js/tinymce/.
- In the form builder for your form, select the textarea field you'd like this editor to apply to.
- In the Input area of the Attribute Editor section for the field's settings, add a new row and give the field an ID, e.g.
idandtinymce-example.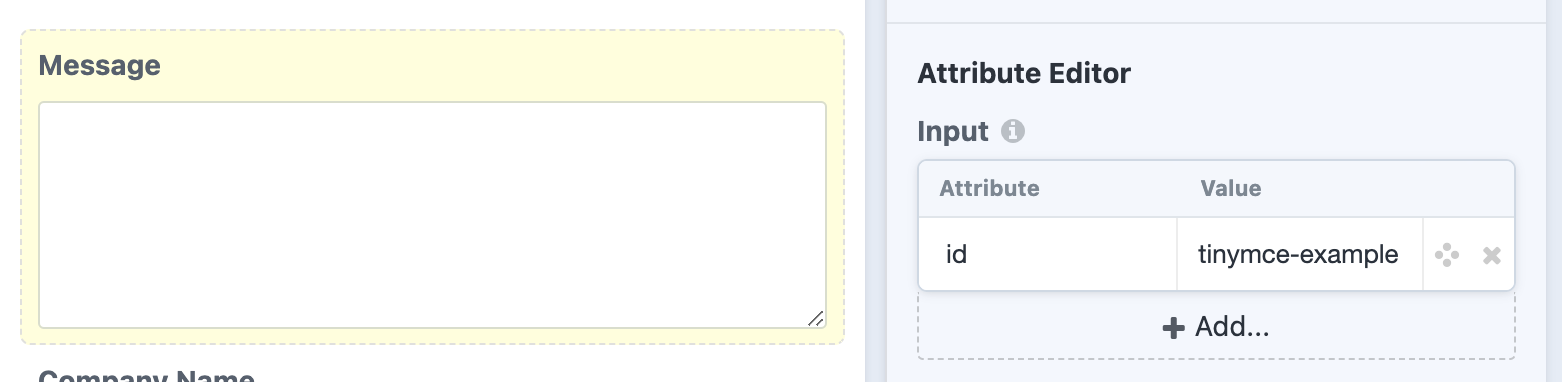
- Save the form.
- Open up the template you wish to load this form and TinyMCE.
- Include the TinyMCE script in the page, e.g.
<script src="/assets/js/tinymce/tinymce.min.js"></script> - Initialize TinyMCE for the textarea in your form. For the
selectorparameter, be sure to target the ID we assigned the textarea in the form builder. The absolute bare minimum would be:<script> tinymce.init({ selector: 'textarea#tinymce-example' }); </script>1
2
3
4
5
- Load the template with the form and TinyMCE scripts, and it should have applied itself. Your complete basic template should look something like this:
<html>
<head></head>
<body>
    {{ craft.freeform.form("yourFormHandle").render() }}

    <script src="/assets/js/tinymce/tinymce.min.js"></script>
    <script>
        tinymce.init({
            selector: 'textarea#tinymce-example'
        });
    </script>
</body>
</html>
1
2
3
4
5
6
7
8
9
10
11
12
13
- TinyMCE offers a wide range of settings to customize the editor options and layout. The below example offers a good selection of editing options and controls:
<script>
    tinymce.init({
        toolbar_location: 'top',
        menubar: false,
        statusbar: false,
        selector: 'textarea#tinymce-example',
        height: 500,
        plugins: [
            'advlist', 'autolink', 'lists', 'link', 'image', 'charmap', 'preview',
            'anchor', 'searchreplace', 'visualblocks', 'code', 'fullscreen',
            'insertdatetime', 'media', 'table', 'help', 'wordcount'
        ],
        toolbar: 'undo redo | blocks | ' +
            'bold italic forecolor | alignleft aligncenter ' +
            'alignright alignjustify | bullist numlist | ' +
            'link image | ' +
            'removeformat code | help',
        content_style: 'body { font-family:Helvetica,Arial,sans-serif; font-size:16px }'
    });
</script>
1
2
3
4
5
6
7
8
9
10
11
12
13
14
15
16
17
18
19
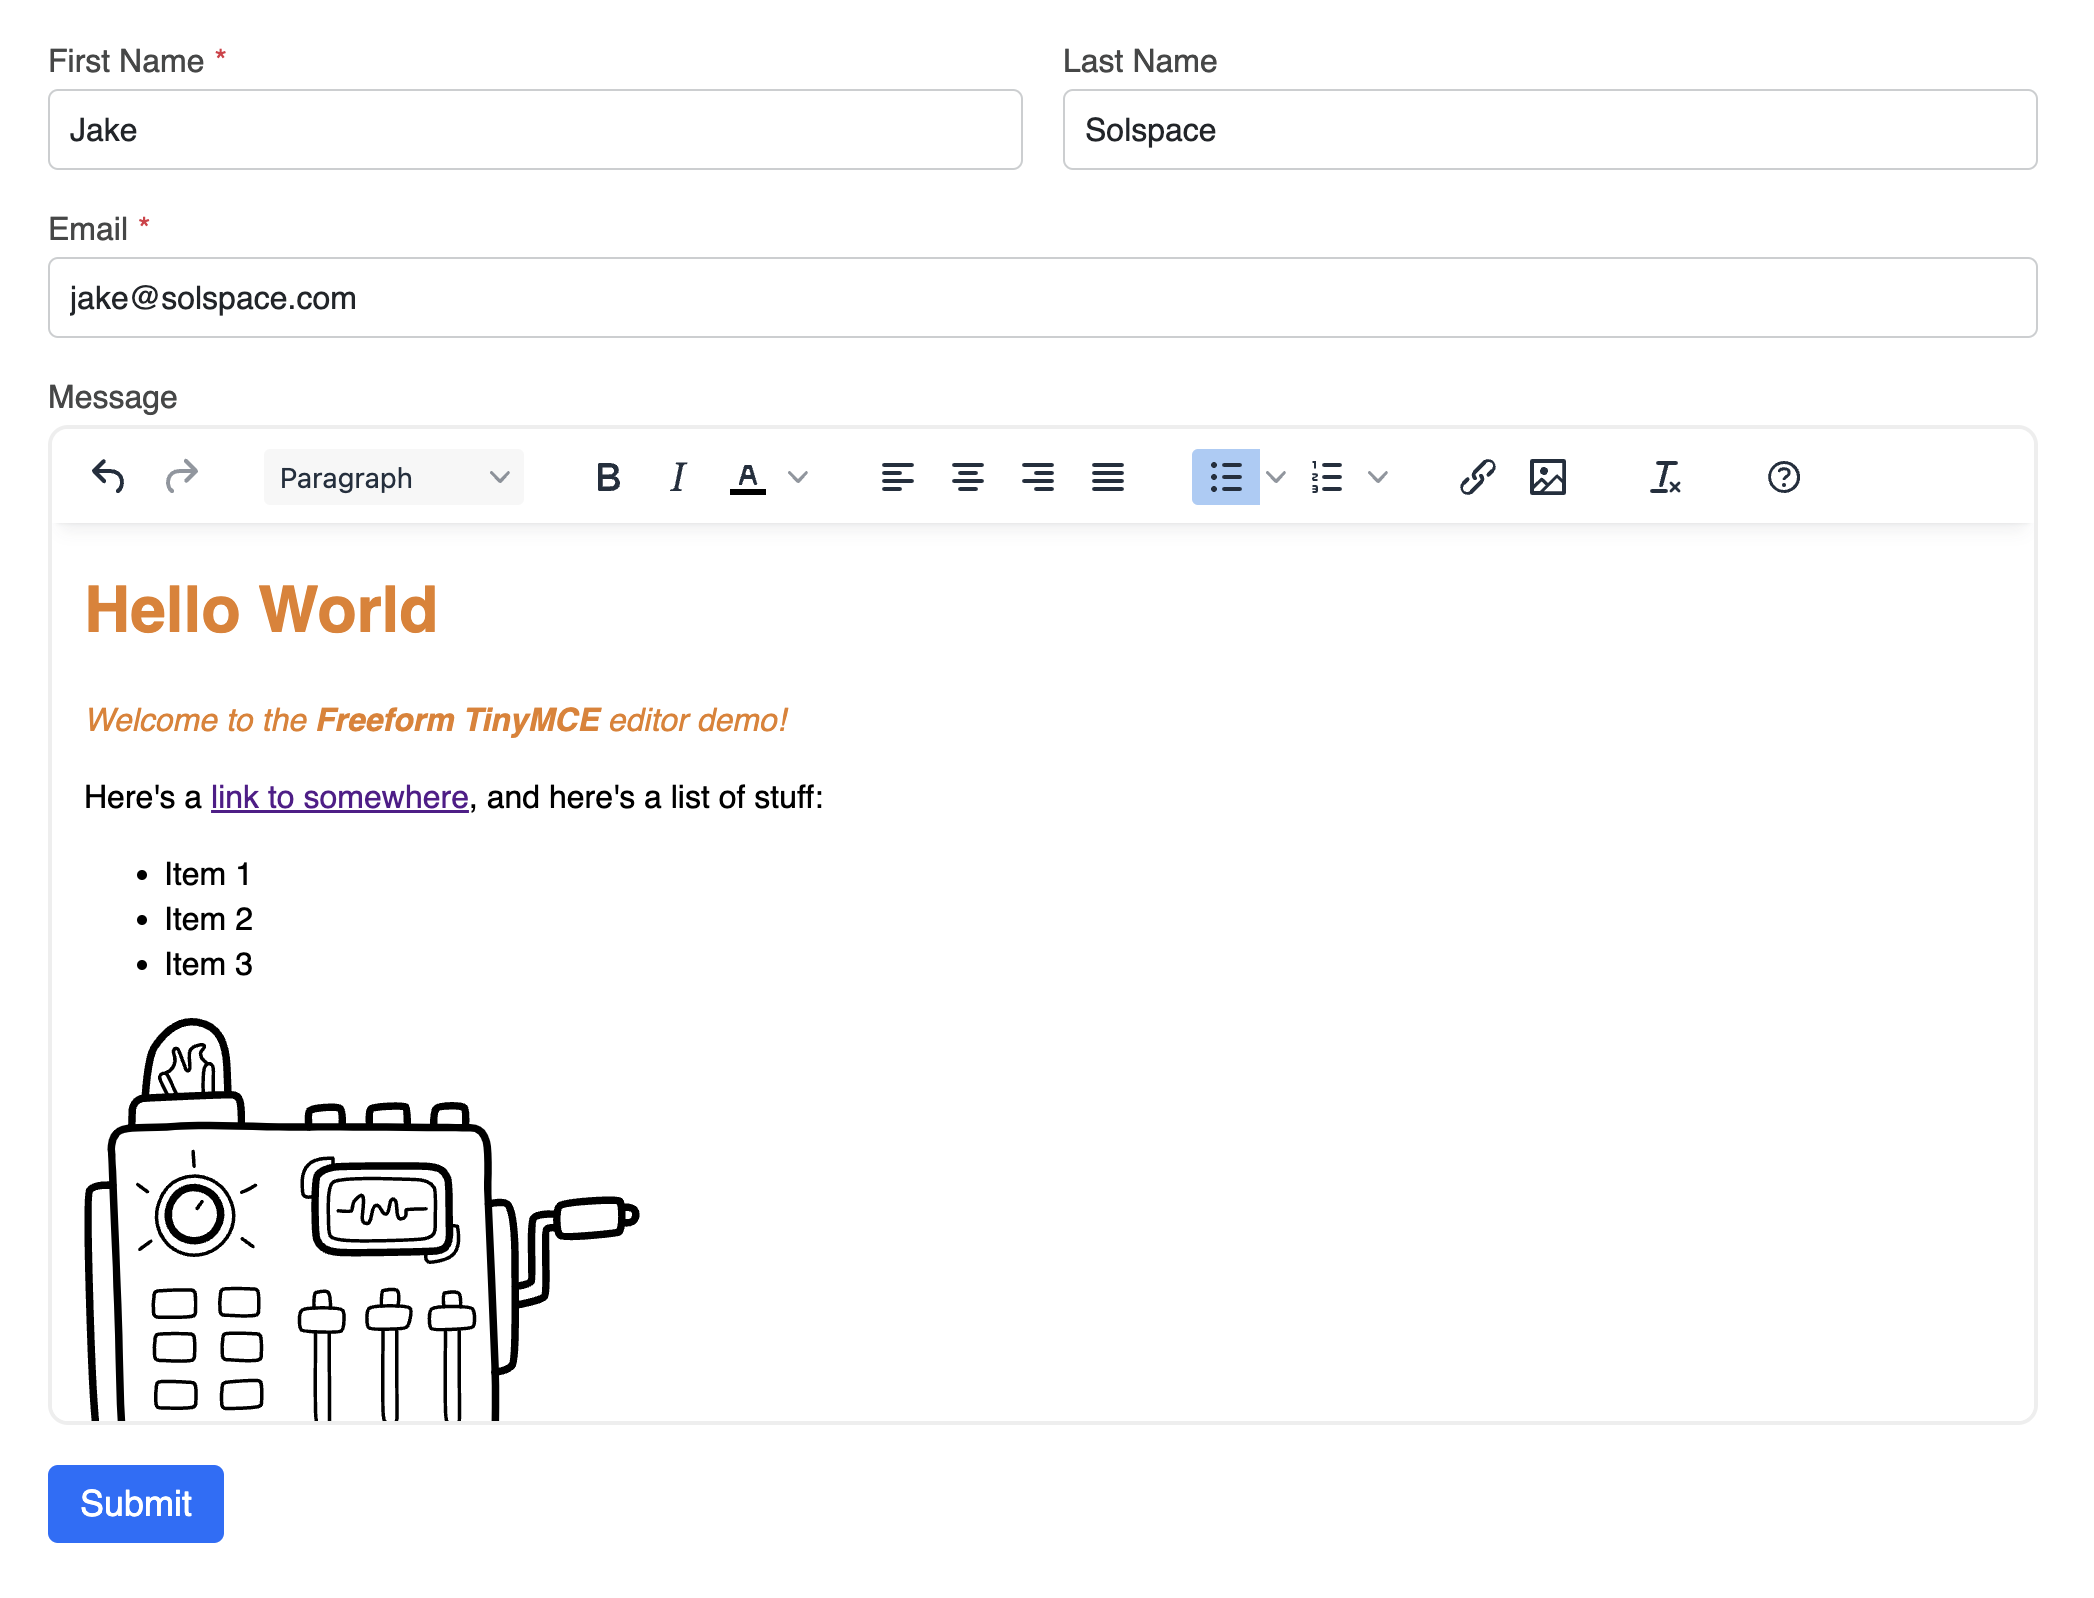
20 - The above code will render in your form like this:
- Anything submitted through the editor will store the data as HTML. By default, Freeform will not parse the HTML in Submissions queries or Email Notification templates. To parse the HTML, be sure to apply the
|rawfilter to the textarea. - In the Submissions query in front end, this could be done by applying
|rawtosubmission[field.handle], like this:{% set submission = craft.freeform.submissions({ form: craft.app.request.segment(3), id: craft.app.request.segment(4), }).one %} <h3>{{ submission.title }}</h3> <p>{{ submission.dateCreated|date('F j, Y \\a\\t g:ia') }}</p> <div class="field-data"> {% for field in submission %} {% if field.type == "textarea" %} {{ submission[field.handle]|raw }} {% else %} {{ submission[field.handle] }} {% endif %} {% endfor %} </div>1
2
3
4
5
6
7
8
9
10
11
12
13
14
15
16
17 - In an email notification template, it might look like this:
<h2>New submission on your {{ form.name }} form</h2>
<p>Submitted on: {{ dateCreated|date('l, F j, Y \\a\\t g:ia') }}</p>
<ul>
    {% for field in allFields %}
        {% if field.handle == "message" %}
            <li>{{ field.label }}:<br />{{ field.value|raw }}</li>
        {% else %}
            <li>{{ field.label }}: {{ field.valueAsString }}</li>
        {% endif %}
    {% endfor %}
</ul>
1
2
3
4
5
6
7
8
9
10
11
Finished!
TIP
The process is likely similar if there's a different editor you'd like to add support for.