SquareProNew in 5.13+
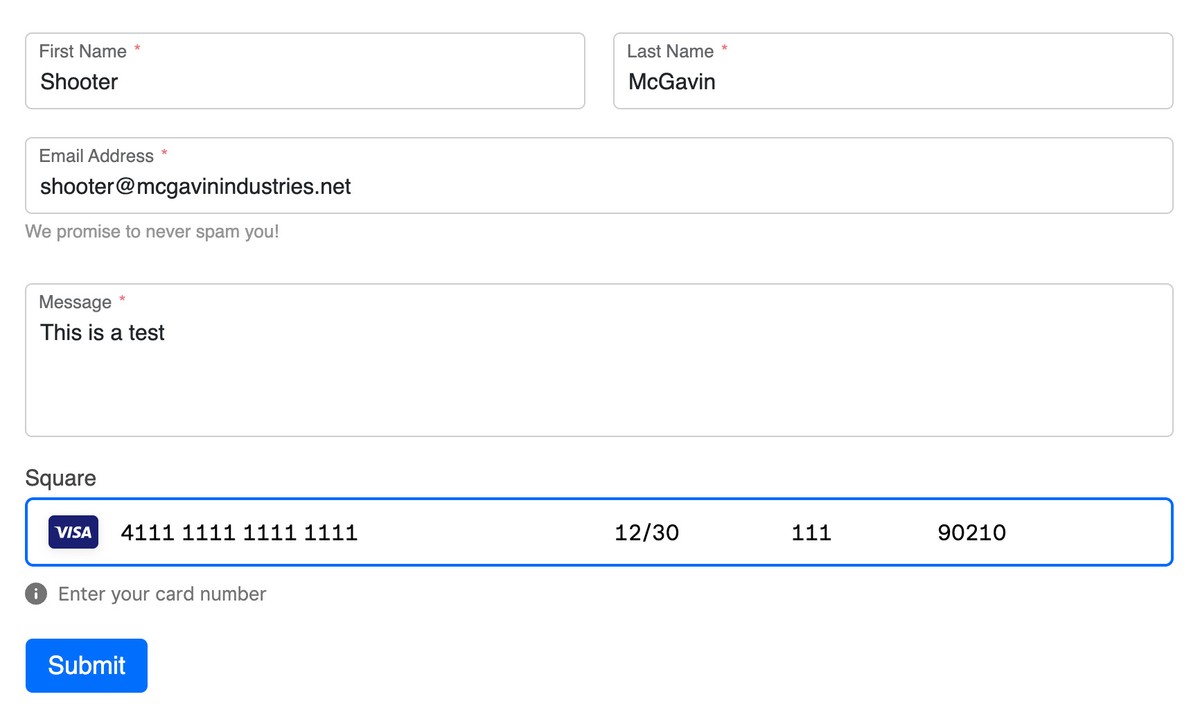
Accepting payments on your site with Square is now supported. Setup is simpler than Stripe, though Square offers fewer configuration options.
Compatibility
- Supports one-time payments using Square's Web Payments SDK and REST API.
- Amounts are in the smallest currency unit (e.g. USD cents, so
500is$5.00).
How It Works
- Frontend: the Square Web Payments SDK creates a nonce and posts to a Freeform endpoint to create the payment.
- Backend: Freeform creates a Square payment and returns success/failure.
- Submission: After the form is saved, Freeform links the payment to the submission so it appears in the control panel.
Does your project require something else? Contact Us
Setup Instructions
This guide assumes you already have Square and Square Developer accounts.
Prepare Freeform
- Click on the Square integration in your Freeform control panel.
- Leave this page open.
Set Up Square
Open another browser tab and log into your Square Developer account:
- In the Applications menu, click on the large + button to create a new app:
- Provide a name for the app and click Next.
- Select Accept Payments checkbox and click Next.
- Choose an option for Find your audience (likely Myself).
- Click on Complete button.
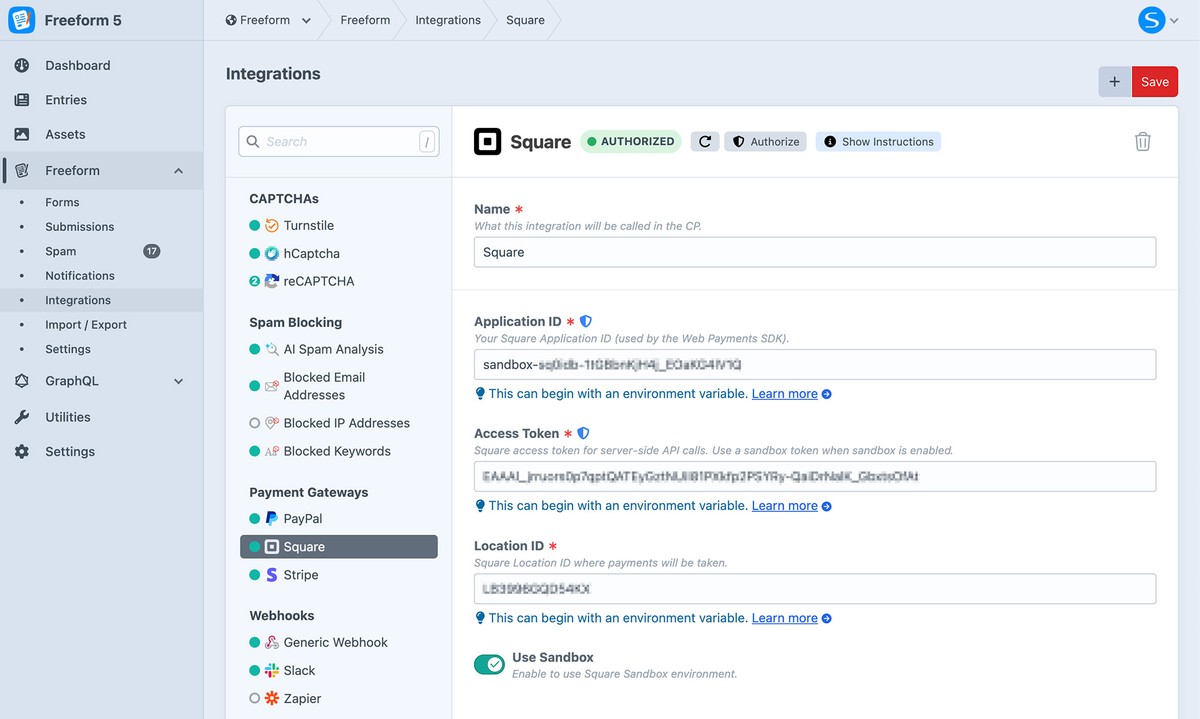
- Once you're taken to the app's page, copy the Sandbox Application ID and Sandbox Access token tokens.
- In the navigation menu, click on Locations.
- In the right side of the page, copy the value under the Location ID column.
Complete the Connection
- Switch back to the Square integration inside Freeform, and paste the Square tokens into the Application ID, Access Token and Location ID settings.
- If you plan on testing the integration in sandbox mode (recommended), enable the Use Sandbox setting.
- Click the Save button.
- After the integration is saved, you should see an Authorize button at the top of the page.
- Click Authorize.
- If successful, the flag at the top will turn green and display Authorized.
Configure the Form
To use this integration on your form(s), configure each form individually:
- Open the form in the form builder.
- Click the Integrations tab.
- Click Square in the list of available integrations.
- Toggle the Enable setting ON.
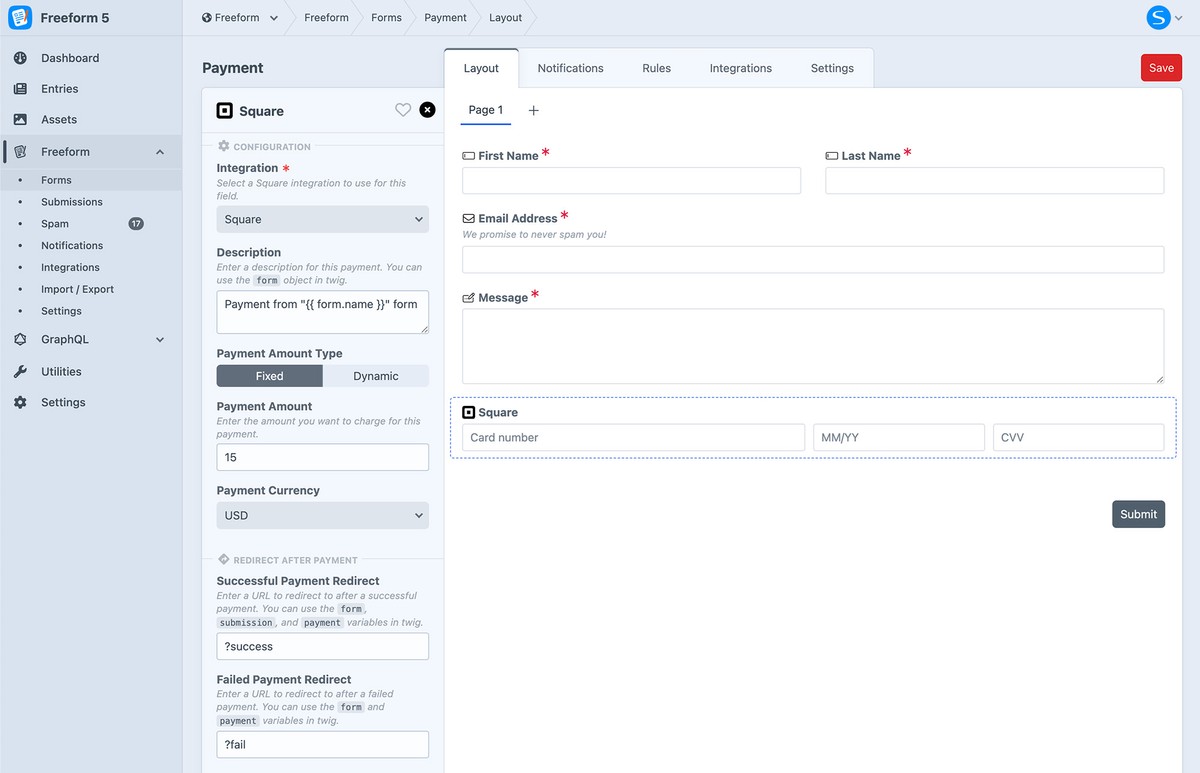
- Add a Square field to your form layout and configure as needed.
- Save the form.
Sandbox Testing
- Open your form on the front end.
- Fill out the form as usual.
- To test the credit card field, refer to Square's Sandbox Payments docs for test card numbers.
- Complete the transaction.
Headless / React & Vue
Square fields work with Freeform’s official headless React and Vue packages. Configure Square in Freeform as usual, enable the form for headless, and pass recommendedExtensions (includes squarePaymentExtension).
See Headless → React JS → Square payments or Vue.js → Payments for setup, same-origin proxy notes, multipage tips, and how tokenization ties into Freeform’s existing Square payments route.