Creating a Custom Formatting Template
Formatting templates control your form's front-end markup and styling. Clone a bundled template as a starting point, customize the copy, and assign it to your forms.
For changes limited to classes, attributes, labels, or initial values, first consider Template Overrides. For direct control over field markup, see Rendering Forms Manually.
Instructions
We strongly recommend using an existing sample formatting template as a starting point so you retain the rendering helpers and field behavior.
To do this, follow the steps below:
Inside your Craft templates directory, create a folder on your server to store your custom formatting templates. For example,
a folder named formatting under a _freeform directory:
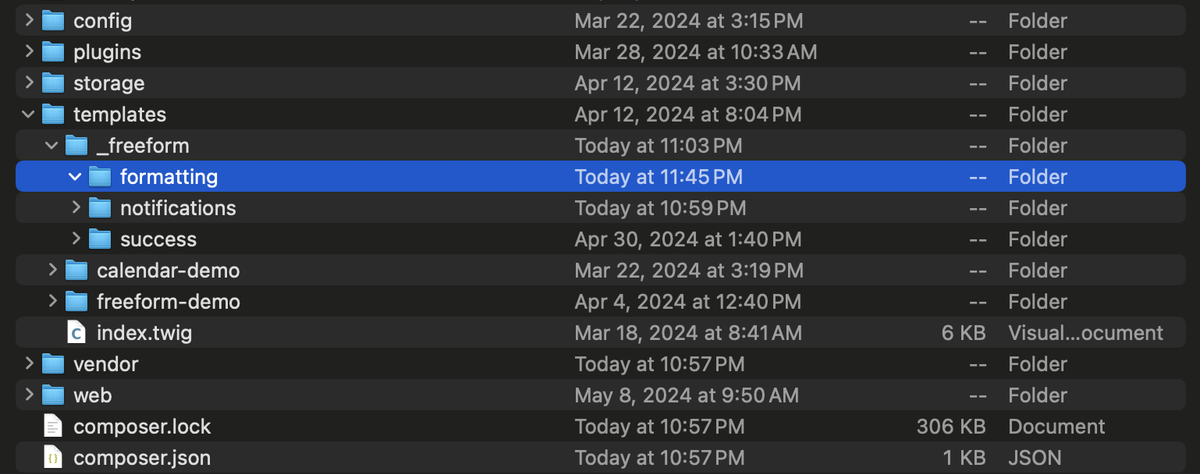
In the Craft control panel, go to the Template Manager in the Settings area of Freeform.
Enter the relative path to your newly created _freeform/formatting directory. Freeform will automatically suggest existing paths:
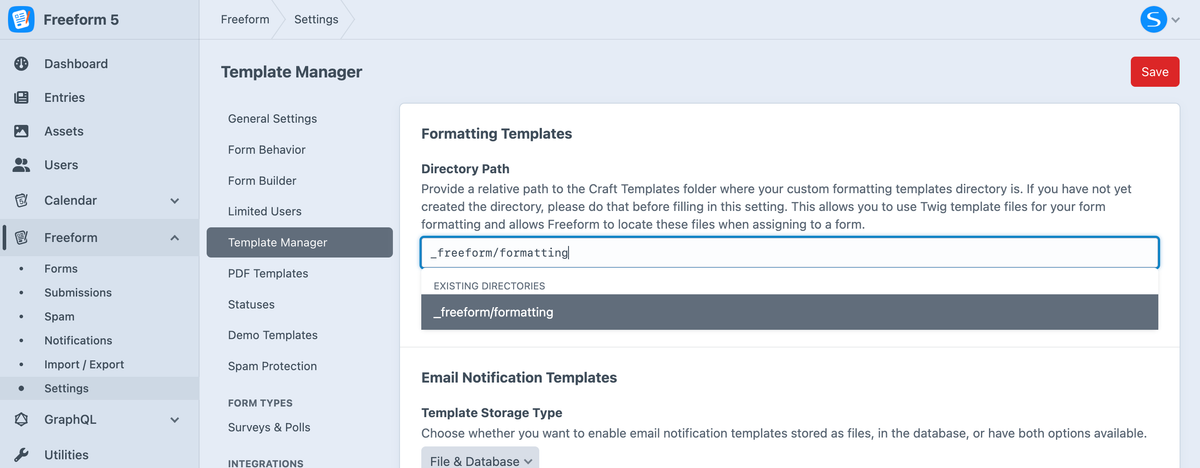
Click the Save button at the top right.
Upon reload of the page, you'll see the following:
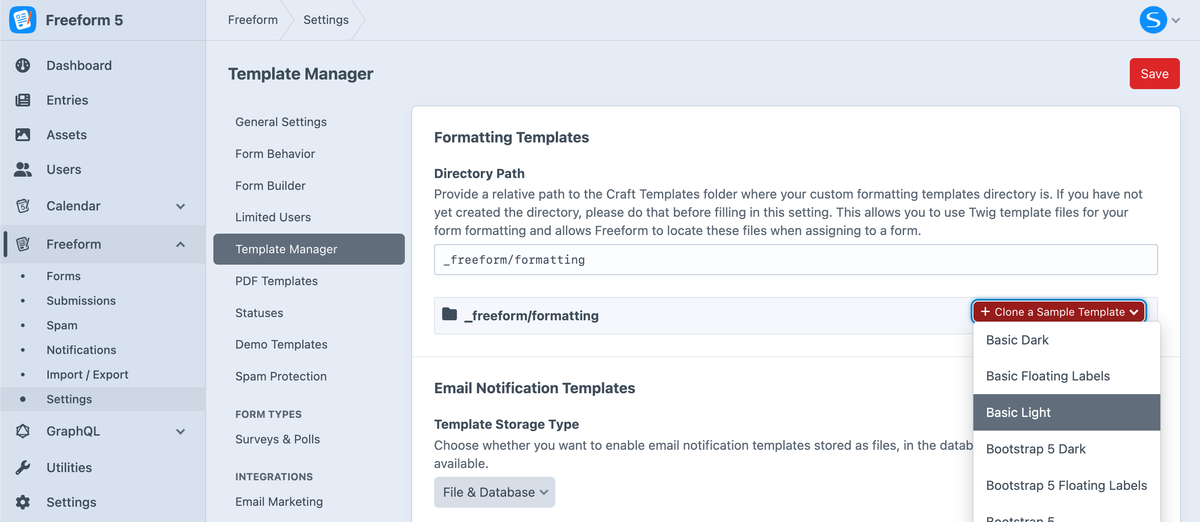
Click on the Clone a Sample Template button and choose an existing sample formatting template to use as a starting point.
After successfully cloning a sample template, you'll see it appear on the page:
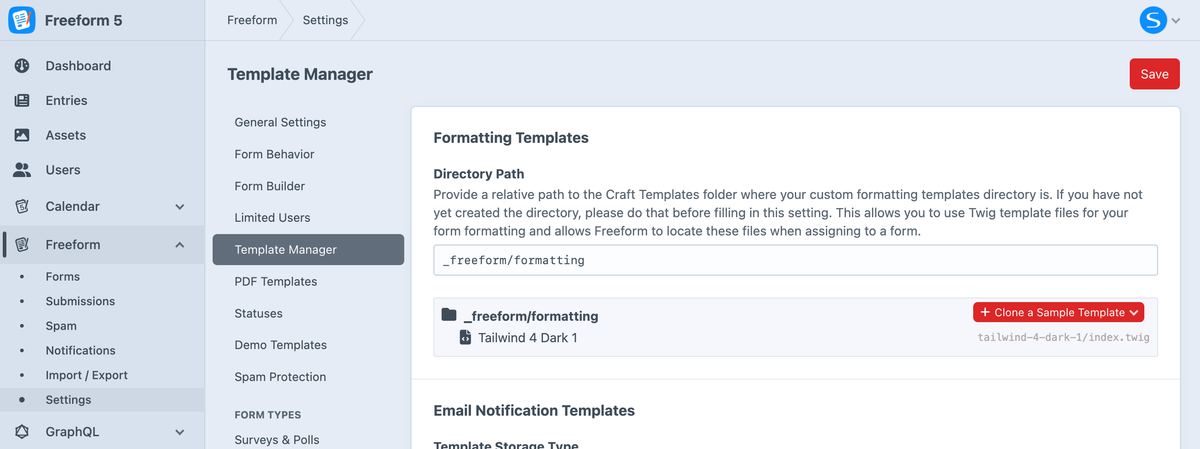
And in your _freeform/formatting directory:
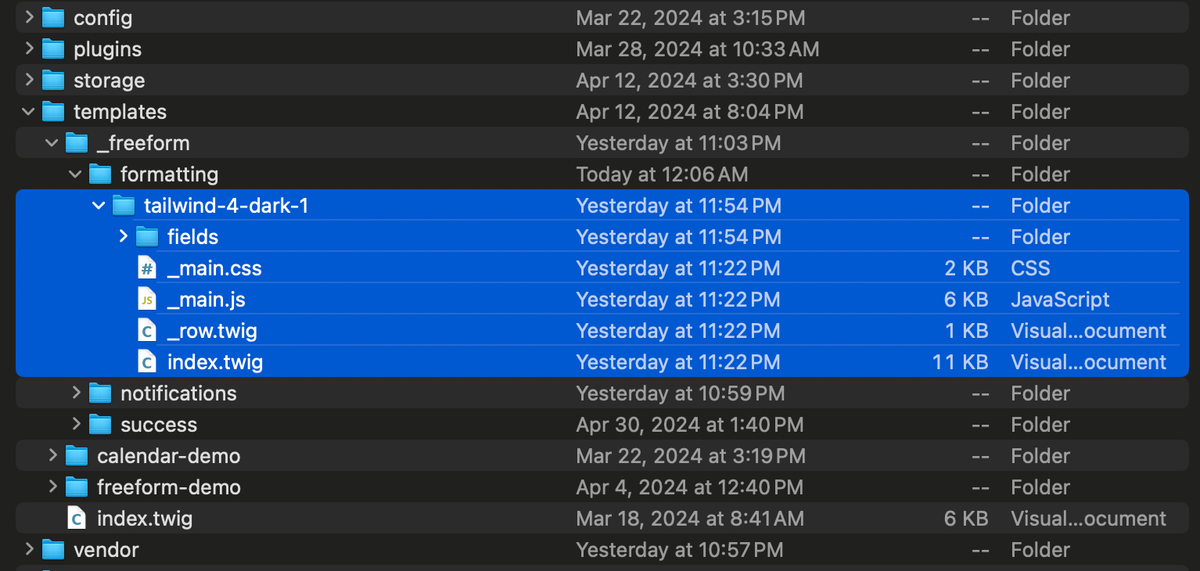
You can rename your new custom formatting template by changing the name of the folder (in this case tailwind-4-dark-1) to whatever you like.
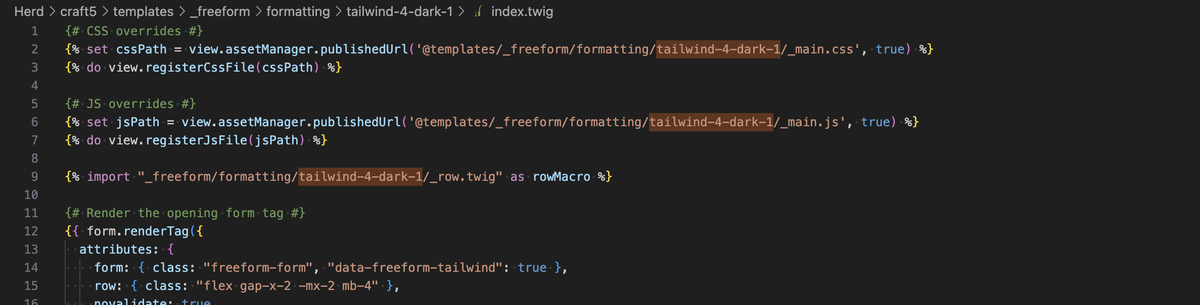
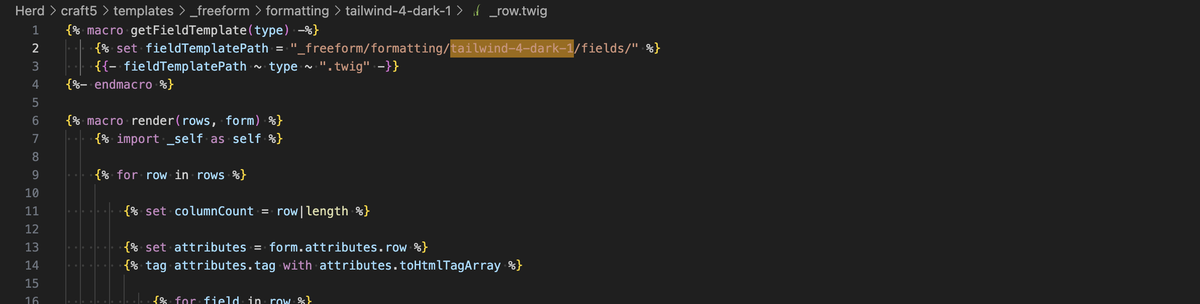
However, please note that you'll need to perform a search and replace on your new tailwind-4-dark-1 folder to replace any references of
tailwind-4-dark-1 in the templates. This will be different depending on which sample template you cloned, but usually 3-5 places.
In the case of the Tailwind 4 templates, you'll need to change them in the following locations:
In index.twig:
In _row.twig:
In /fields/group.twig:

Apply your new formatting template to one or more of your forms:
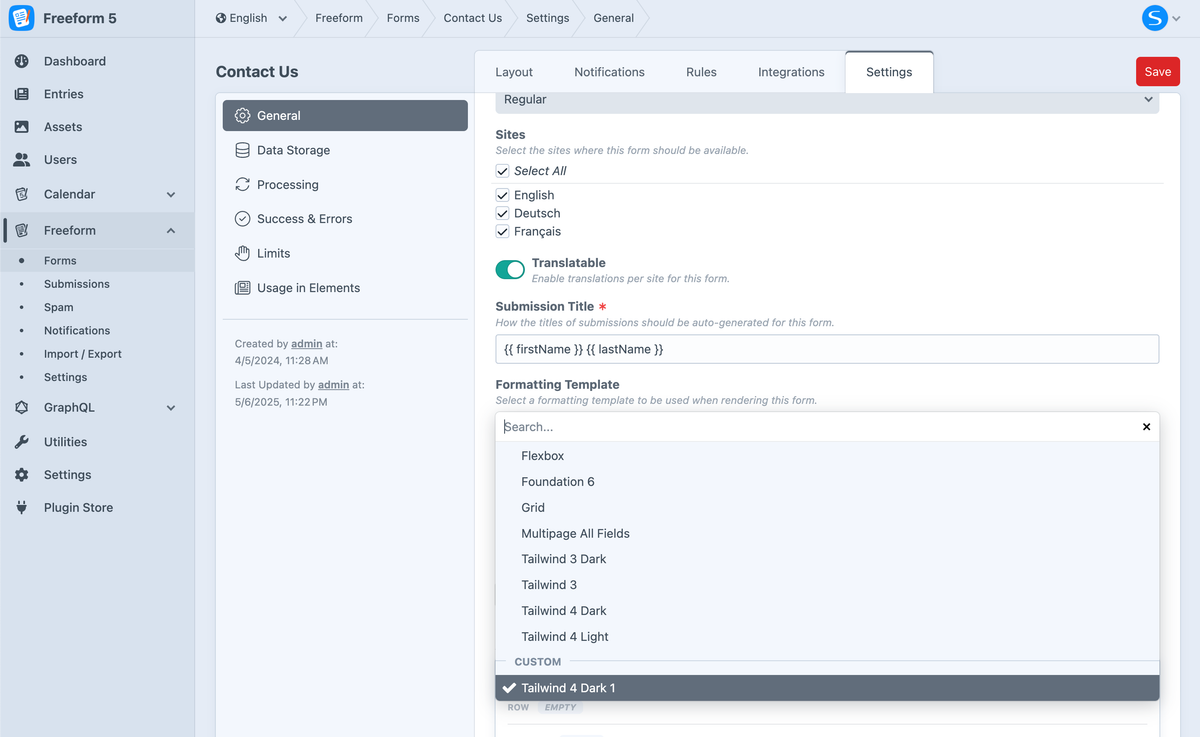
Make any changes you like to your new formatting template. We strongly suggest starting out small and slowly make additional changes, checking them numerous times along the way.
Previewing Your Template
Save the form with your custom template assigned, then open the builder's Preview tab with Use Saved Template selected. Add any CSS or JavaScript normally supplied by your site layout under Additional Preview Assets, save, and refresh.
The Preview-only template selector lets you compare bundled samples without changing the saved assignment. Keep Freeform's form, field-container, and button attributes when customizing markup so conditional behavior and page navigation continue to work. Test real submissions, validation, and integrations on your site.