


A newer version of
Freeform
is available.
Try Freeform 5 now →
Element Field Types
Freeform includes a Freeform Forms and Freeform Submissions fieldtype, which allows you to assign/relate forms and submissions to other element types such as Craft Entries.
Here's an overview on how to use these fieldtypes:
Freeform Forms
The Freeform Forms field type allows you to assign/relate forms to other element types such as Craft Entries. A common use-case here would be if you wanted to allow admins to attach a specific Freeform form to a Craft Entry that corresponds to the entry, and then automate loading the form along with the entry in the front end templates.
Follow the instructions below on how to set up and use Freeform field types:
Creating the Field
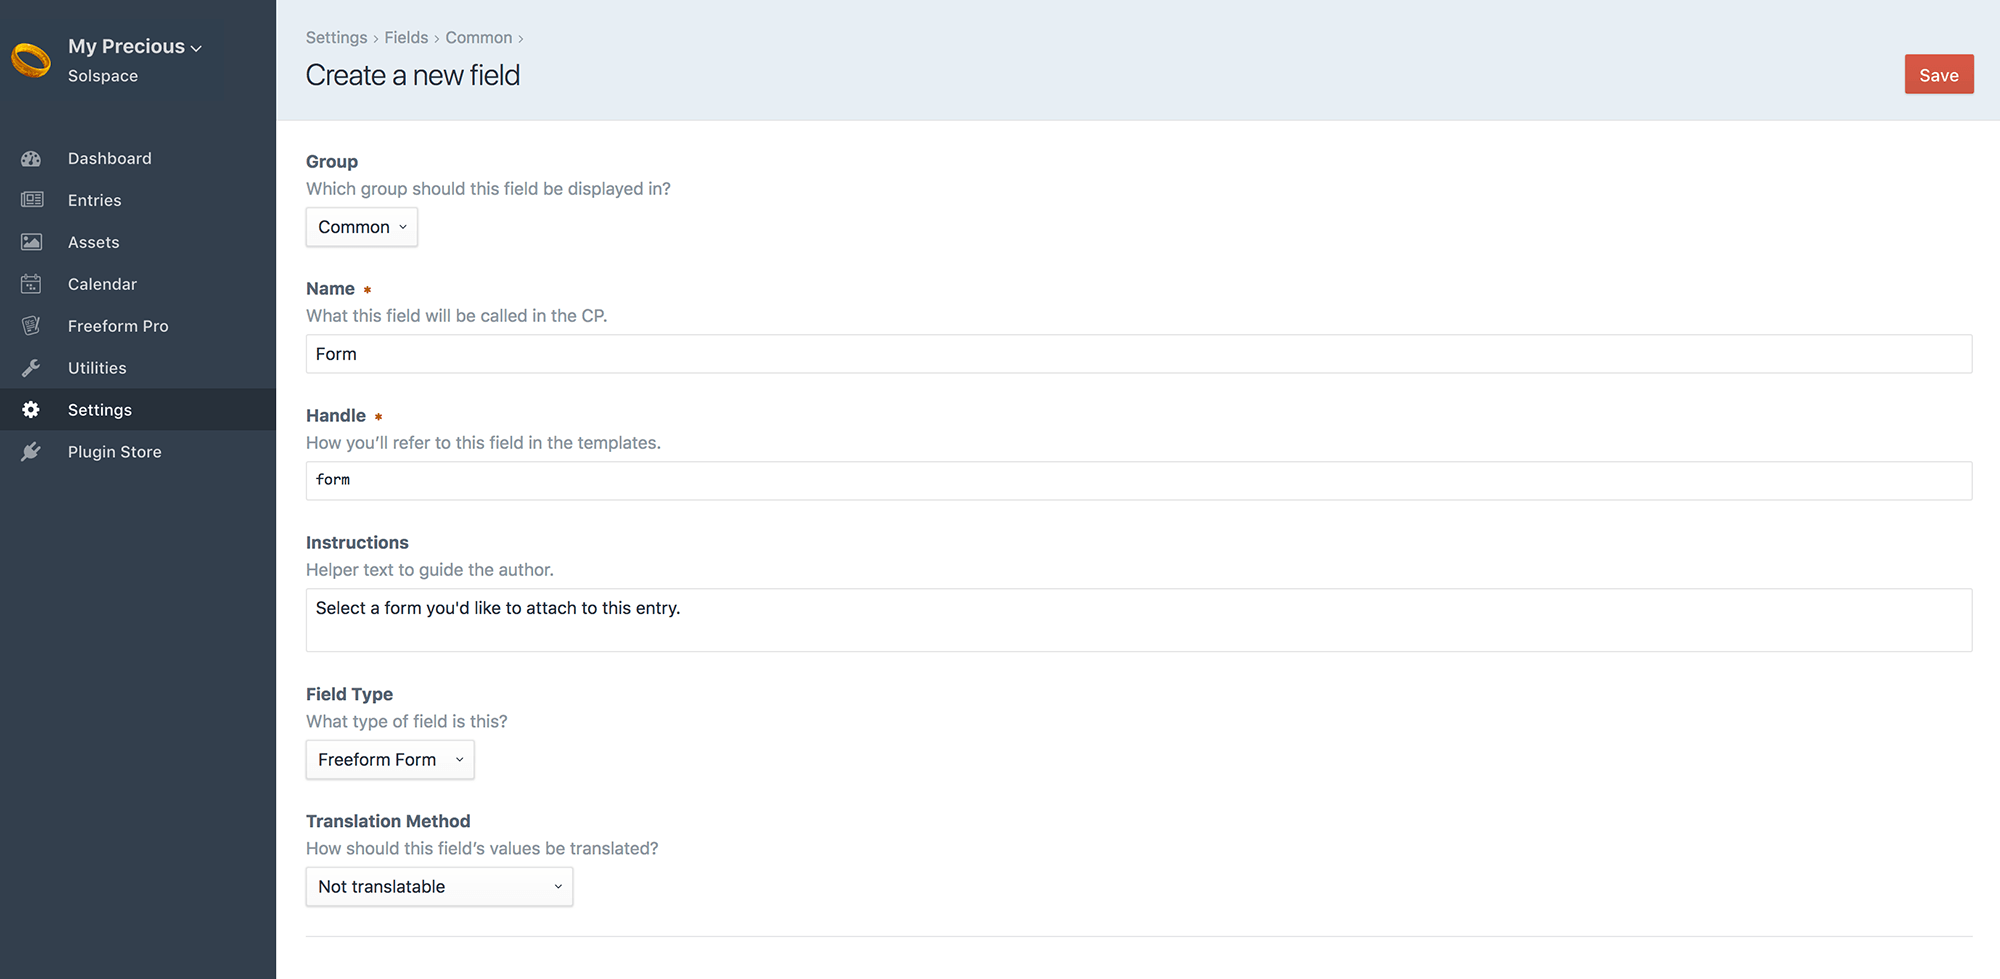
Creating a Freeform Form field is done just like any other fieldtype, here's an overview of the process:
Click the New field button in the top right corner.
Selection Label is the text that will appear on the button which opens the Freeform Form selection pop-up dialog.
Your Freeform Form field is now available to be assigned to other sections.
How it Works
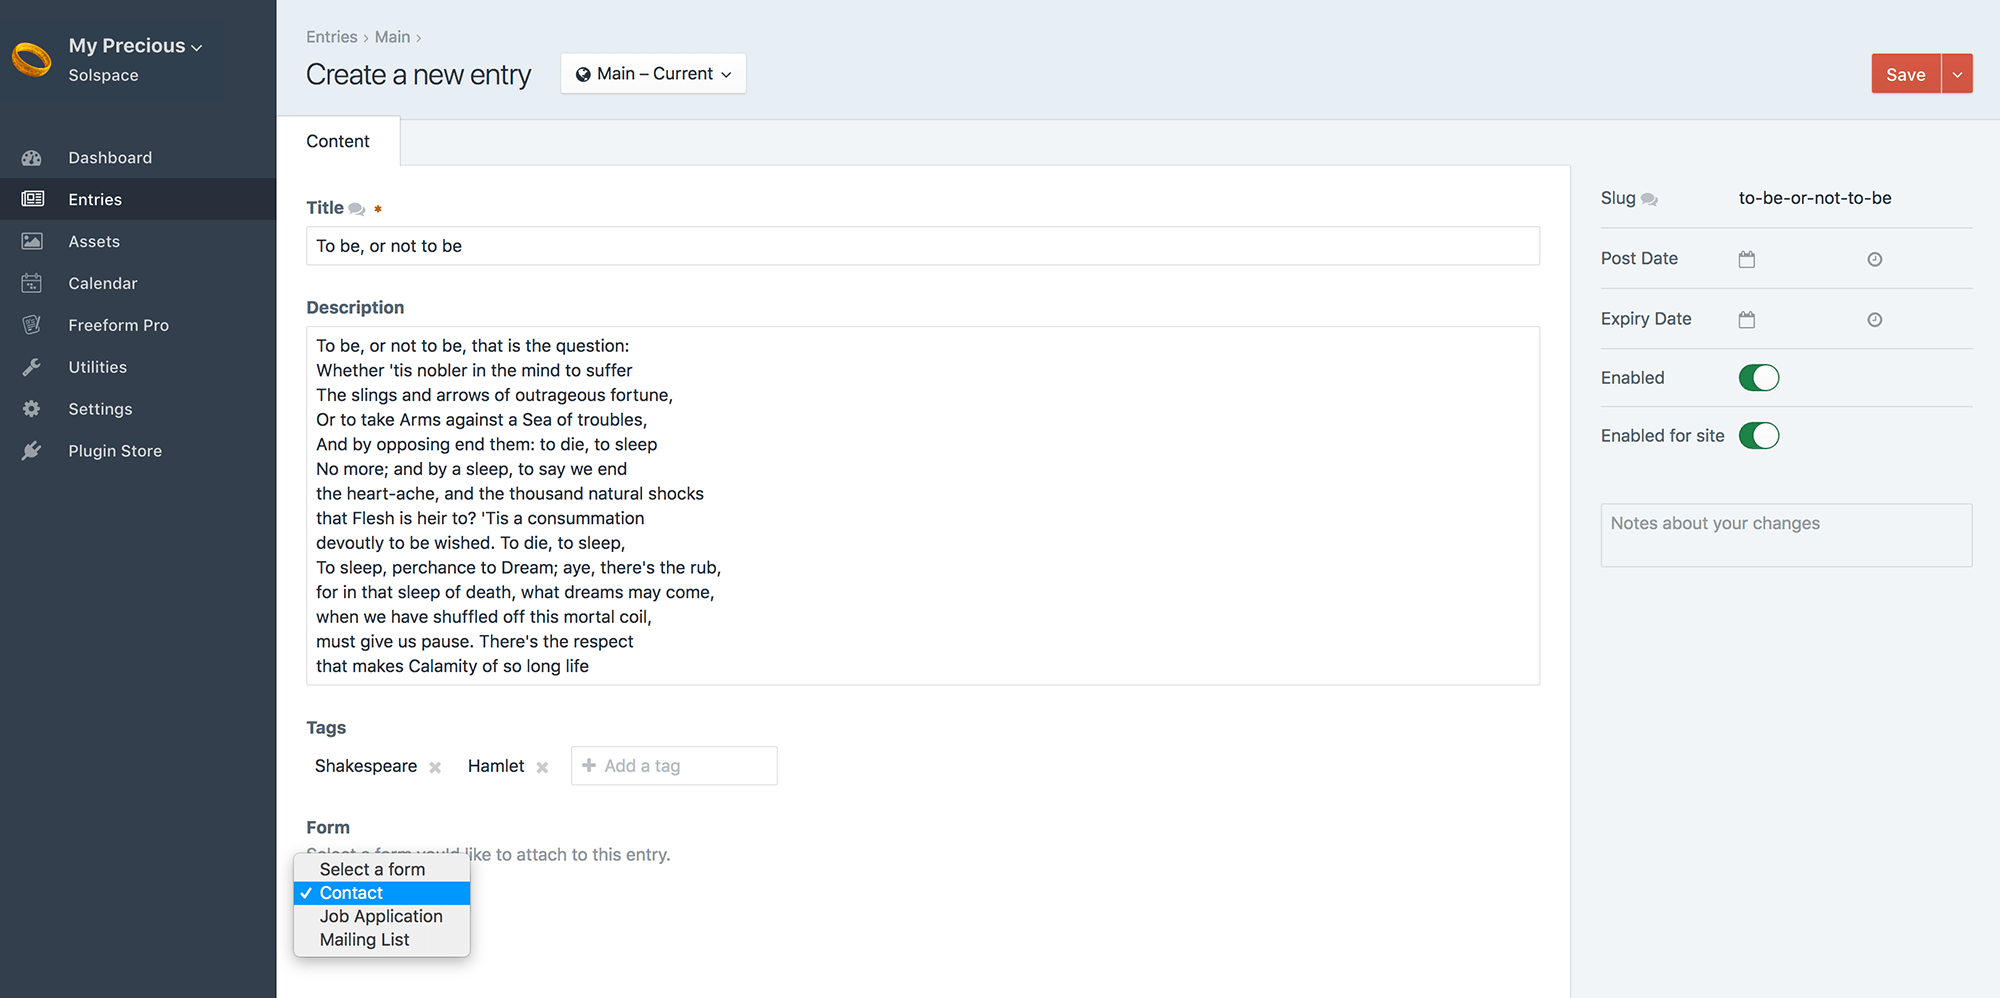
The Freeform Form fieldtype lets the user assign any Freeform form to any element: a section Entry, Categories, Assets, etc.
Template Properties
The following are template properties are available for the Form fieldtype:
name#- Outputs the name of the form
handle#- Outputs the handle of the form
id#- Outputs the unique ID of the form
description#- Outputs the description of the form
render()#- Outputs the full form, rendering it with the Formatting Template specified in the form builder for the form.
Examples
An example of template code you would use to display a Freeform form (with field handle of myFreeformfieldname) that is attached to a Craft Entry would look something like this:
{% for entry in craft.entries.section('news').limit(10) %}
  <div class="entry">
    <h2><a href="{{ entry.url }}">{{ entry.title }}</a></h2>
    {{ entry.summary }}
    {% if entry.myFreeformfieldname is defined and entry.myFreeformfieldname is not empty %}
      <h3>{{ entry.myFreeformfieldname.name }}</h3>
      {{ entry.myFreeformfieldname.render() }}
    {% endif %}
  </div>
{% endfor %}
2
3
4
5
6
7
8
9
10
If you'd like to automatically pass content from another element (such as a Craft Entry) into Freeform field(s), you'd have to use the overrideValues property inside your formatting template.
For example, if you want to pass a title of an entry to a Freeform field, and the entry slug was in the second segment of your URL, you should set that in your formatting template. Also be sure to include a hidden Freeform field in your form (in this case called entryTitle). Your formatting template code might look something like this:
{% set entry = craft.entries.slug(craft.app.request.getSegment(2)).one() %}

{{ form.renderTag({
  overrideValues: { entryTitle: entry.title }
}) }}
2
3
4
5
Freeform Submissions
The Freeform Submissions field type by itself is not the most usable feature, but when paired with the Relations feature it allows Freeform to do extraordinary things like become a tool that let's your users comment on entries, submit ratings and reviews for Commerce (and regular) products and more! The Relations feature essentially allows you to feed another Craft Element ID to the form that is attached to the submission(s), and the Freeform submission then becomes attached to the other element the same way an Asset does, etc.
Creating the Field
Creating a Freeform Submissions field is done just like any other fieldtype, here's an overview of the process:
Click the New field button in the top right corner.
Selection Label is the text that will appear on the button which opens the Freeform Submissions selection pop-up dialog.
Your Freeform Submissions field is now available to be assigned to other sections.
How it Works
Please see the Relating Submissions to Elements documentation for a complete guide on setting this up.